 Print This Post
We’re going back to the basics for this next blogging series: I’m going to alternate weeks on Blogger and WordPress.com, and go back all the way to the beginning. I imagine you probably already have a blog, and you’ve probably been through all these steps, but you may know someone who’s interested in getting started, but afraid to try. Fear not! It’s easy! And if you want someone to show you what to do, look no further, because here’s the Beginniners’ Guide to Blogger, part one: how to sign up and set up your blog the first time.
Go to http://www.blogger.com. Here’s what the screen looks like:
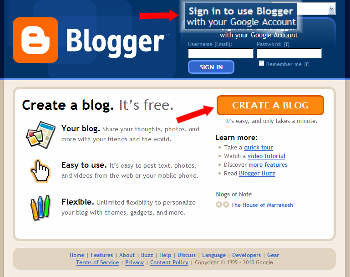
If you already have a Google account—such as for Gmail, Google Groups or Orkut—you can use that to sign in at the top. Otherwise, click the big orange button to create an account.
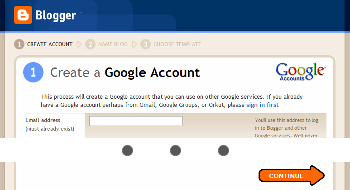
Account creation is easy. You do have to supply some personal details—but nothing more intimate than your email address. You also set a display name here, the name that appears at the bottom of your blog posts. If you don’t want to use your real name, be sure to set that to your pseudonym of choice.
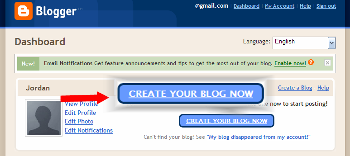
If you already have a Google account, when you sign in, you’ll see this. Click the blue button to create your blog:
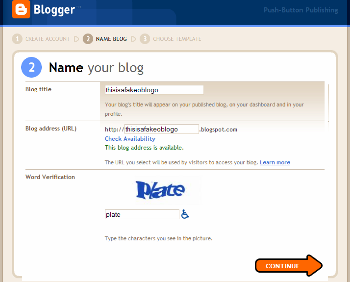
Whether you just created a new account or are using an existing account, the next step is the same (You can click to enlarge the picture below). You select a name for your blog (what will appear in big letters at the top of every page) as well as its address. Note that there are no @ signs in the name of your blog—@ signs are only used in email addresses! Your blog address will be whatever you choose (if it’s available), followed by .blogspot.com —in the example here, it’s http://thisisafakeoblogo.blogspot.com. Use the “check availability” link to make sure that address isn’t already taken.
Type in the spam-catcher letters and click the orange Continue button.
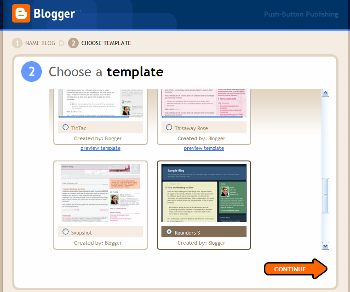
Next, you get to choose the template or layout and colors of your blog. There are several choices here, so scroll down to see them all and pick the one you like best. (Note: in an upcoming post, we’ll talk about how to get custom designs for your Blogger blog.)
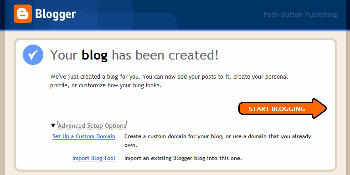
Voila! Your blog has been created! You can hit the orange Continue button here to start posting, or look at the Advanced Setup Options.
The advanced options allow you to get your own domain for your Blogger blog—i.e., ThisIsAFakeoBlogo.com instead of thisisafakeoblogo.blogspot.com. (Purchasing a domain will cost money. Here’s some of my advice on buying your own domain.) The other advanced option is to import a blog you already have into your new one.
If you went with the orange Continue button, you’ll go right to the Write New Post page. Enter a title in the title box—the title of the post appears at the top of the post in big letters. (This post’s title, for example, is “Beginners’ Guide to Blogger: Sign Up.”)
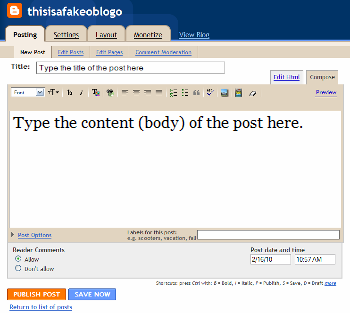
In the larger box below, type the words you’d like to see in the content or body of your post. (I’m pretty sure we’ll also be talking about what all those buttons do soon, too.)
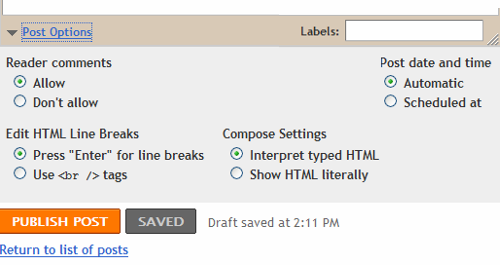
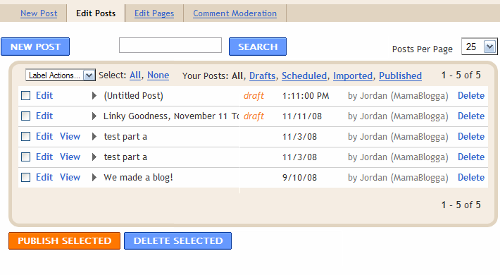
To save the draft to finish later, or to make sure you don’t lose your work should your computer or browser crash, click the Save Draft button. To publish it to your public blog, click the Publish Post button. Once you publish, you’ll see this:
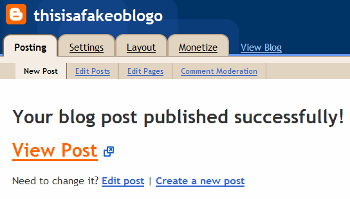
Follow the View Blog link to see your blog and your first post live in the world:
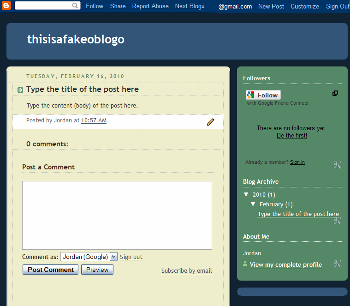
Congratulations! You just started a blog on Blogger!
What blogging topics would you like covered for Blogger or WordPress?
